
Over the past few weeks I have had the opportunity to model an oral language group or two for some of our staff. Oral language groups are a wonderful way to help not only ELLs/SSLs build their second language, but are also a great strategy for any student who needs to develop vocabulary, specific speech and sentence structure patterns, etc.
I thought I would share one of the lessons that I did with you all as it follows a pretty basic format that could be adapted to a variety of students and topics. This lesson is a two day lesson that I did in two 20 minute blocks with a group of four first graders at the beginning stages of their second language development in Spanish. The goal was to build their understanding of how to form simple sentence with a commonly used key phrase. (Please note: A similar lesson could most certainly be done in English as well!)
The Lesson...
Day 1:
After going over the expectations for an oral language group, I began by placing the following objects on the table in front of the students without the labels. I then asked them to turn and talk to a table partner and share anything they knew about them (names, what they can do with them, etc.)
After the students had a sufficient opportunity to share with one partner, I encouraged them to share their ideas out to the group. (Note: The partner strategy often helps students to get their ideas out in a less intimidating way. It also gives them a chance to hear some ideas of others that they then may be able to share out to the group!) As the students shared what they knew about the objects, we placed labels next to them with the object names and practiced reading/identifying the objects several times.

I then introduced the students to one of my favorite books for building vocabulary - "Veo" aka "I Spy". We discussed what the term "veo" meant and I asked the students to show me which part of their body they utilize to "see" objects.

I opened the book up to a selected photo and presented the students with this key phrase...
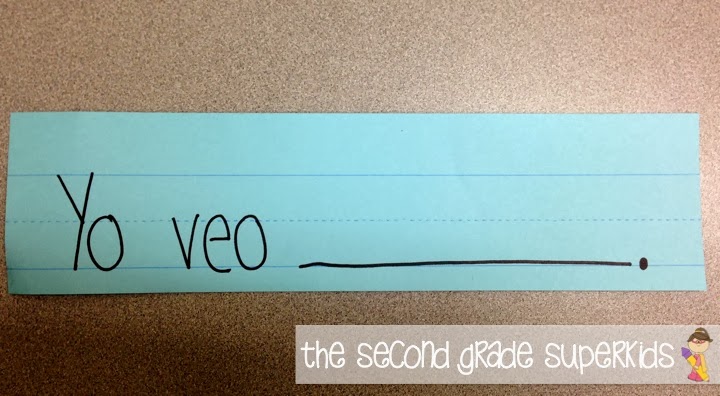
I instructed the students to look at the photo and using the phrase share items that they saw with their table partner. (Some of the students may share the name in the dominant language or may simply provide a description, which is perfectly fine- it can be a teaching point when sharing with the group!).
After the students had sufficient time to talk with their partners, I told them we would be working together as a group to write the text for this page of the book. I strategically covered the author's words with white construction paper ahead of time, as I wanted the students to come up with their own ideas. Thus, as the students shared their key phrases and items spied, I wrote their ideas onto the paper.

Notice anything about the picture?! Yes, the objects we discussed ahead of time or "realia" as I prefer to call them helped prep the students for success when sharing! Furthermore, as I wrote the students words, I also added a small picture to go along with our sentence to continue to foster comprehension. Many time the students shared new words as well! After we finished our text, we reread it together as a group.
Day 2:
To begin Day 2, we worked together to reread the words we had written describing our photo. I then presented the students with the idea that during this session they would be working to create their own "Veo" books.
I must say...there is nothing fancy to be seen here...but it is very quick and practical to put together! I simply folded a piece of computer paper together with a piece of double sided handwriting paper with space for a picture!
Each student started by copying the title "Veo" onto their cover page along with their name.

After creating the cover, I instructed the students to write 4 "Yo veo _____" statements (one on each page) along with a corresponding picture to represent what they had written. I let the students know that it was okay to select from the items we had investigated and/or to take it a step further if they were comfortable and search for items around their classroom to add. Either way they were working with that key phrase I really wanted them to master!
In this example, the student chose to write phrases using some of the items we explored.

On this page, the student chose to branch out and include an item she saw in her classroom (there were leaves they had created as a class hanging up!)

To finish our lesson, I asked the students to read their story to a partner in the group. They then placed their story in their classroom book boxes as it is now a comprehensible text that they can read (at their level ;)) to practice their Spanish!
As I stated above, this is just one (basic) example of an oral language group... but it is one that could be adapted very easily. I encourage you to include photos, books, etc. that are connected to your content along with sentence patterns and vocabulary that are geared toward what you would like your students to master! You will be amazed how quickly your students not only develop language, but also how comprehension and literacy skills improve as a whole when you work with them to foster their oral skills!

No comments:
Post a Comment